1. Draw Your File
Step 1 in the Modelcraft Laser cutting process.
Follow this guide on how to set up your file for laser cutting. Once you're ready, download our template to get started.

LASER CUTTING ARTWORK SETUP
Acceptable File Formats
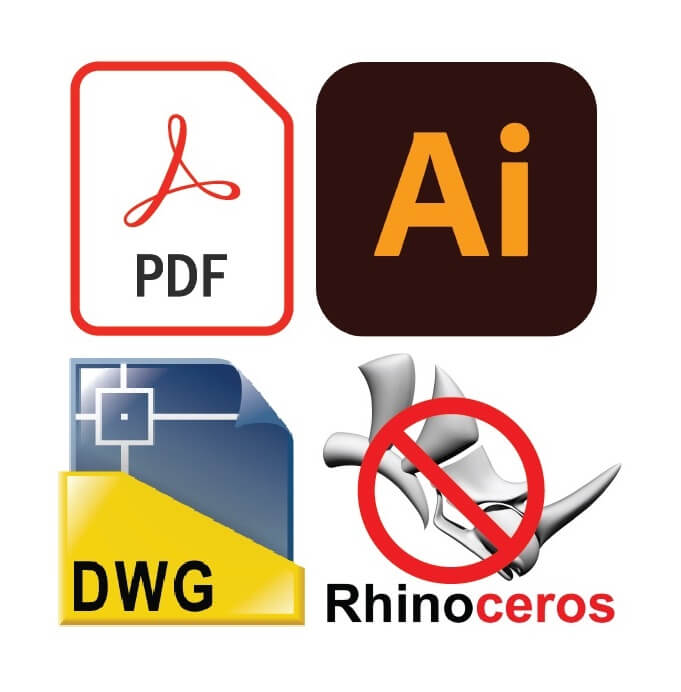
In order to quote your job we need a 2D vector file of what you would like to have cut. Templates for popular drawing programs can be downloaded by clicking the button below.
If you don’t have access to CAD software such as adobe illustrator or autocad you can download an open source program such as inkscape and import our template.
If you are drawing in 3D programs such as rhino you will need to export your drawings as a 2D vector file such as dwg. or dxf. We do not accept .3dm files.
We recommend saving a PDF of your drawing and sending it as well so that we can check for errors.

design best practices for your artwork
Sheet Layout for Laser Cutting
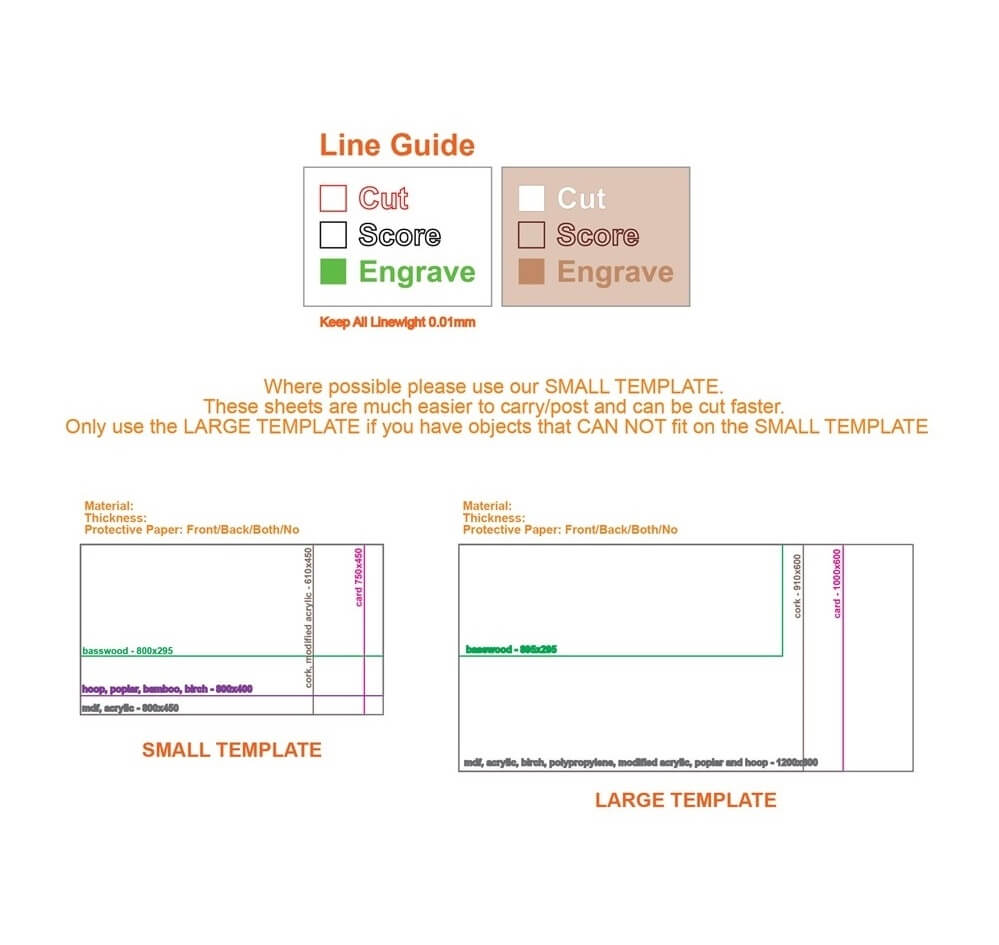
General Layout – Draw your elements for laser cutting at full scale and locate them within the rectangles on the template drawing so that our editing and layout time is minimised and your use of sheet material is maximised.
Material Size – non standard materials like card, polyprop, and cork come in slightly smaller sizes to minimise material waste. Look out for the labelled rectangles in our templates below.
Gaps Between Objects – please allow at least a 2mm gap between each object to make sure they cut cleanly.
File Setout – Use and label a separate rectangle for each sheet to be cut, each material type and/or differing thickness of material.
For duplicates of a sheet, send one drawing only and label the quantities required with blue text.

different lines & colours have different functions
Linework and Colour
Thickness – all lines should be given the minimum setting for your program. (hairline, 0.001mm, 1pt etc).
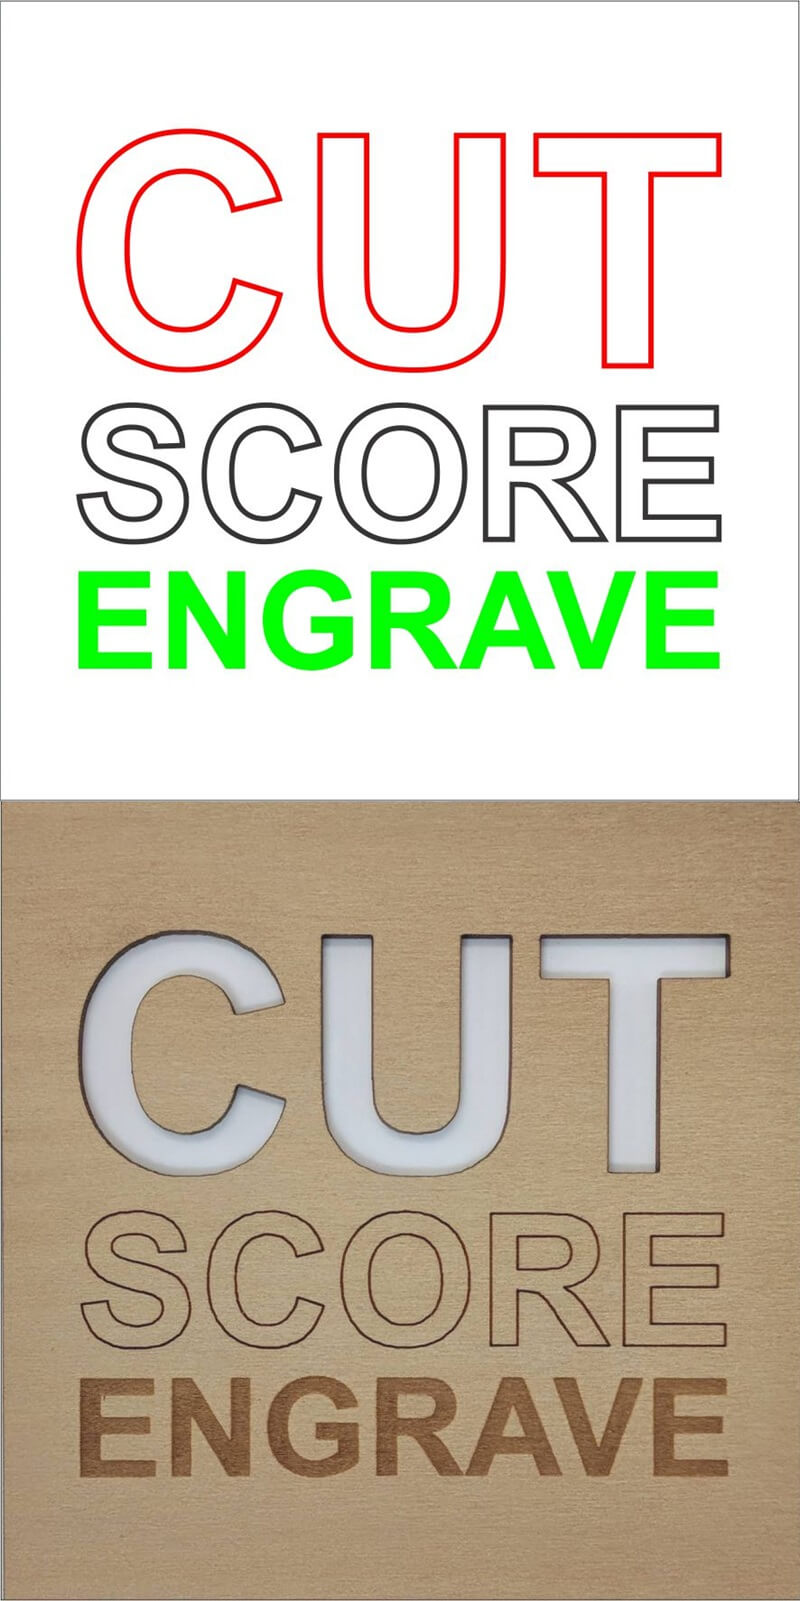
Cut Lines – any line that you wish to cut all the way through the material should be red.
Score Lines - lines that you want to simply score onto the surface of your material should be black.
Block Fill – areas to be engraved as a block fill into the surface of your material should be given a green fill.
Text - should be a black outline if it is to be scored, green fill if it is to be engraved/raster filled.
Fonts - make sure to convert your text to objects (Illustrator) or polylines (Autocad) to preserve your font.

A RASTER AKA BITMAP CAN BE ENGRAVED
Raster Engraving
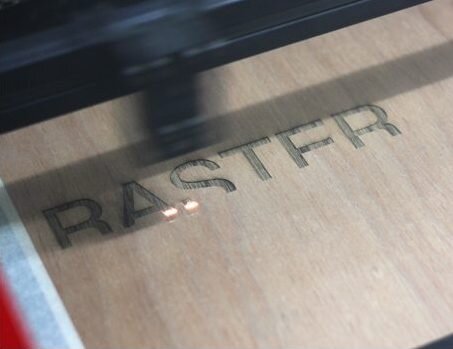
Green Fill – if you want the laser to engrave continuous fill (known as rastering) then you should use a green fill on your drawing.
White Fill – you can use objects with white fill on top of green filled areas to create negative fill e.g. to avoid filling in the centre of letters.
Objects – polylines will need to be continuous to form objects which can be filled. A separate black outline is not usually required.
Note – keep in mind that vector (line) cutting is generally quicker and therefore cheaper than raster (fill) engraving.
Drawing Tips for Laser Cutting & Engraving
-
tip 1 – Keep the drawings as clean and simple as possible.
tip 2 – Remember that curves take longer (and therefore cost more) than straight lines.
tip 3 – For text, engraved lines are generally quicker (and therefore cheaper) than filled text.
tip 4 – Make sure there are no duplicate lines, as these will add to cutting time and cost, and may cause burning.
tip 5 – Make sure to save all your text as curves or objects so that your drawing isn’t affected if we don’t have the font you were using.
tip 6 – If supplying your own material, include at least one spare piece of material, in case of drawing or cutting errors. -
tip 7 – Allow for slight variations in material thickness, especially if your pieces need to fit tightly together. Call to discuss this if unsure, but don’t aim for a press-fit.
tip 8 – Some material will be lost on the laser-cut line itself, especially in thicker acrylic. This can vary from 0.1 to 0.5mm depending on the thickness of material used.
tip 9 – There is almost always a slight taper to the cut, due to more laser power at the entry point (top surface) of any material. This is more apparent in thicker material.
tip 10 – Working from our template drawings or at least including one labelled box 800mm x 450mm in blue on your drawing will help to avoid any scaling or sizing issues when importing your file.